How to Add Items and Categories in OnTrack POS
(A) To Add Items (Products), Follow These Steps:
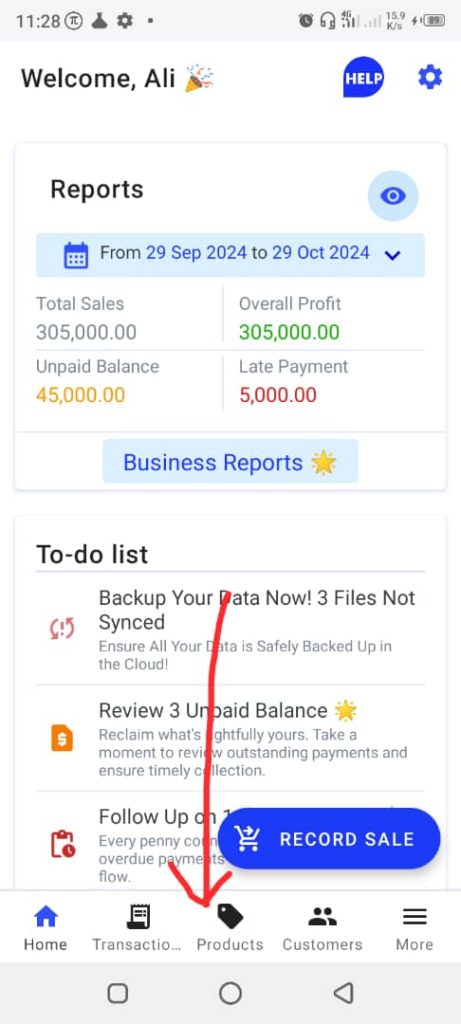
1. Open the OnTrack Business App and log in.
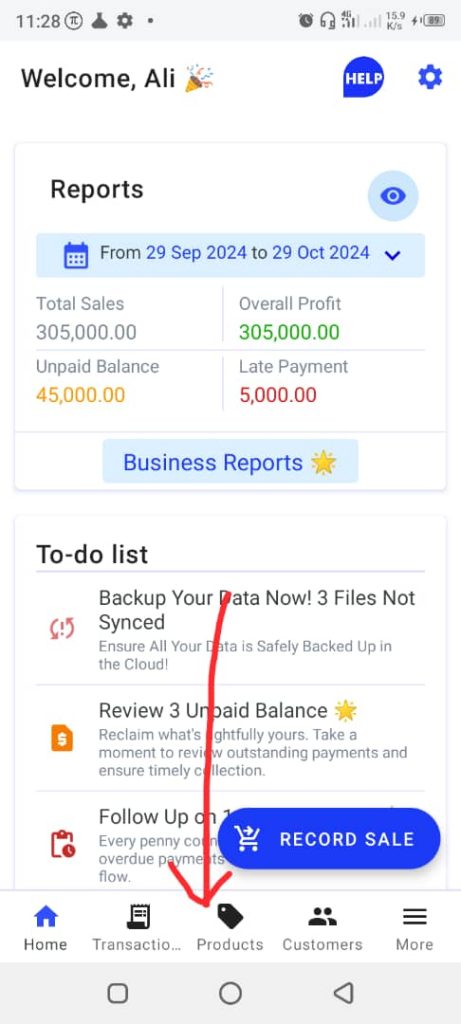
2. Click on the Products tab from the bottom taskbar. This will open the Products page.
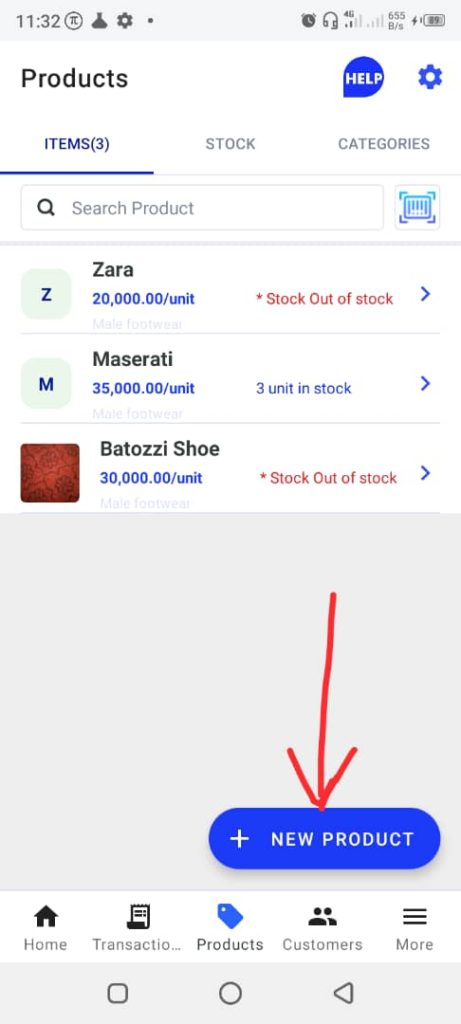
3. To add a new product, click on the New Product tab, located at the bottom right corner. This will open the New Product page.
4. Complete the product form with the following details:
- Product name
- Selling price
- Unit
- Product category
- Cost price (optional)
- Product information
- Barcode (optional)
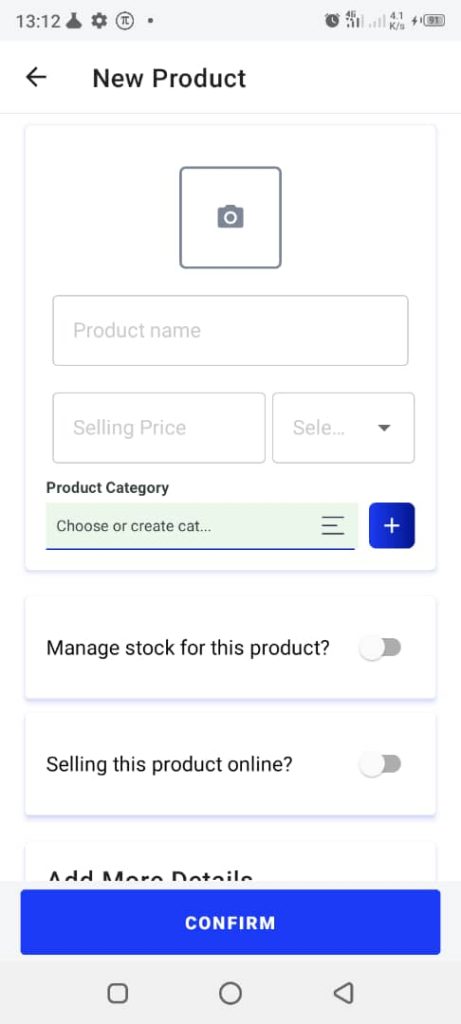
5. Tap the Confirm button.
You’ve now added a product to your list. Repeat the process to add multiple products.
(B) To Add Product Categories, Follow These Steps:
1. Open the OnTrack Business App and log in.
2. Click on the Products tab from the bottom taskbar. This will open the Products page.
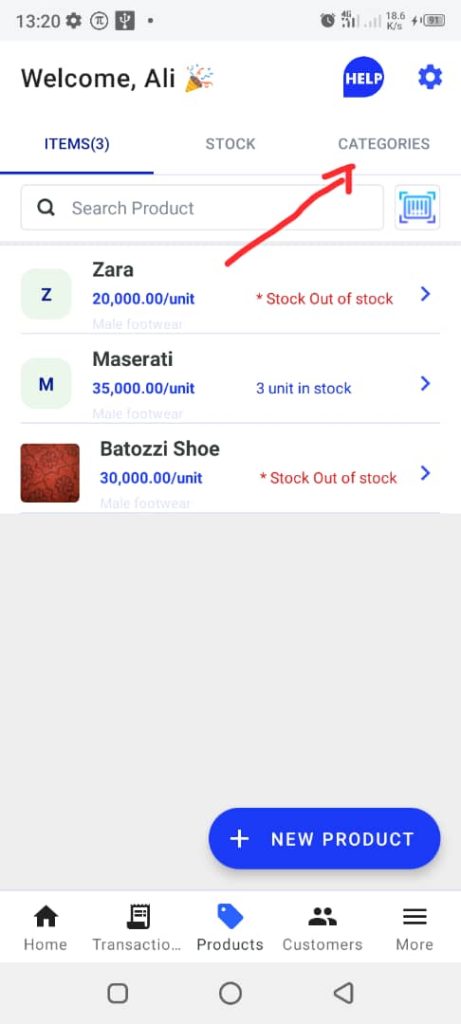
3. Click on the Categories tab from the top taskbar.
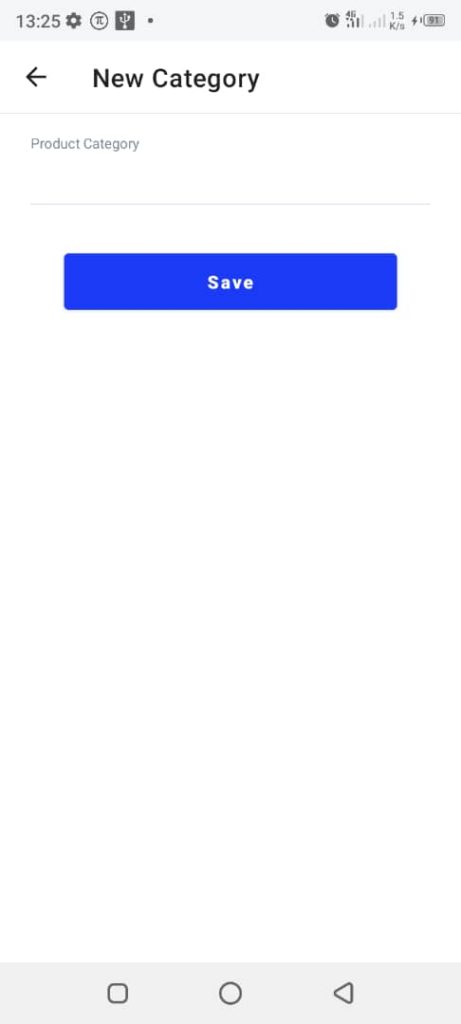
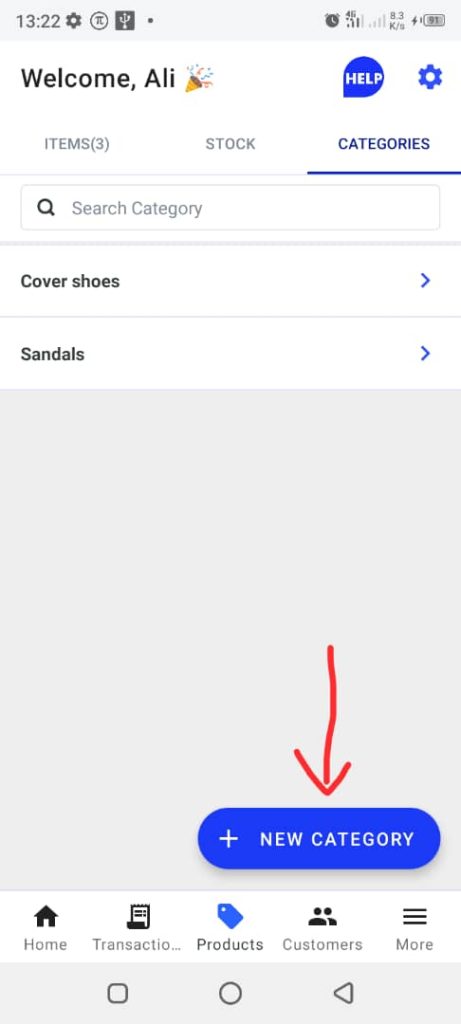
4. To add a category, click on the New Category button, located at the bottom right corner. This will open the New Category page.
5. Enter the desired category name in the space provided, and tap Save to create the category.
