


How to Create a Due Invoice in OnTrack POS?
Follow these steps to create a due invoice in OnTrack POS:
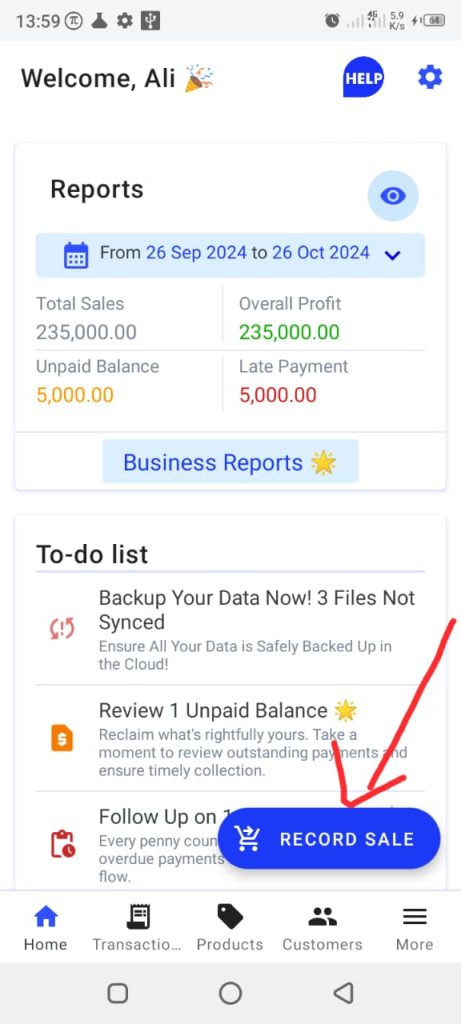
1. Open the OnTrack Business App and log in.
2. Click on Record Sale, located at the bottom right corner.
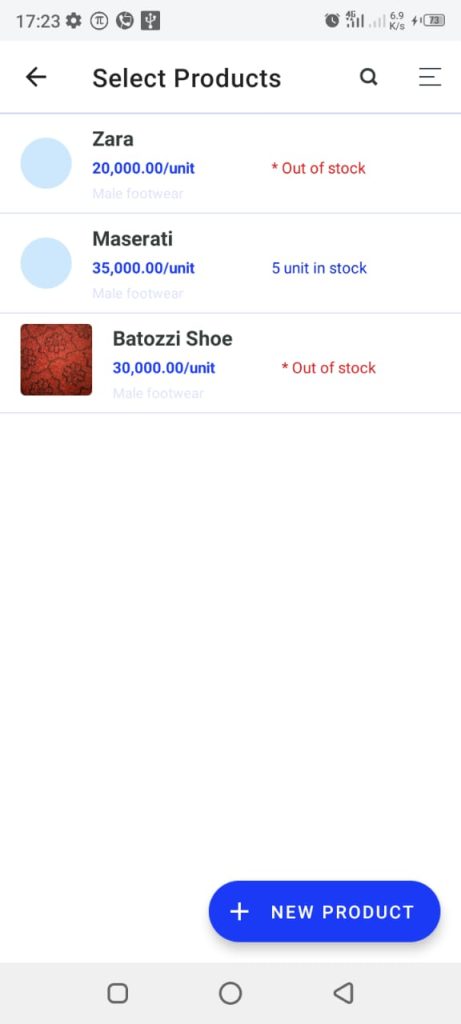
3. Select the product(s) from the list of products.
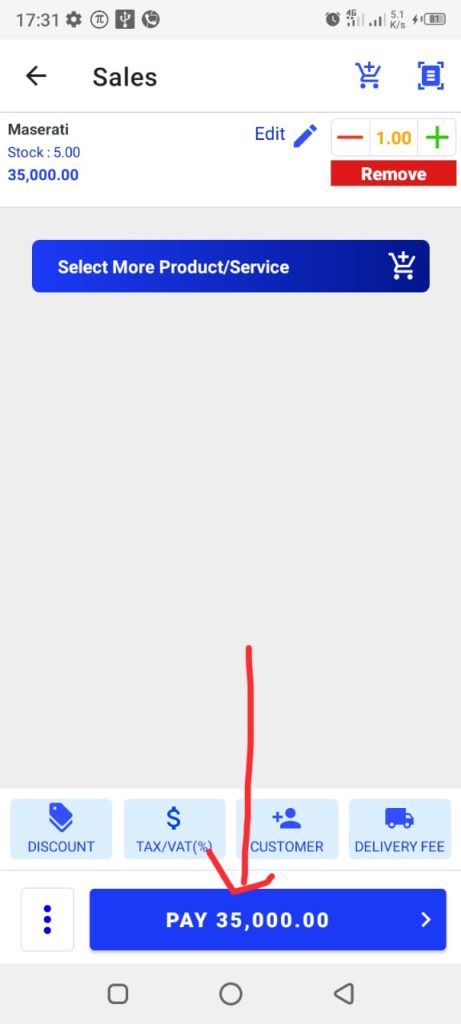
4. Click on the Pay xxx button at the bottom of the page. This will open the Payment page.
5. Complete the uncompleted spaces in the payment form:
- Choose Pay Later from the payment method (Cash, Transfer, POS, Other, or Pay Later)
- Specify the amount of money received. The amount received is set to total money by default.
6. Tap the Confirm button. This will open “transaction successful” page.
You have now successfully created a due invoice.
7. To see the transaction details, click on the Open Receipt button. This will open the Transaction Details page.
